You can easily connect your Applicant Tracking System (ATS) account to a number of actions using Zapier, a no-code platform that enables you to connect hundreds of other applications to your ATS account.
NOTE: There are VERY detailed notes below, which some people find overwhelming. If you're feeling stress after reviewing this article, please take a deep breath and work through the steps one-by-one. We'd rather give too much info than leave you wondering what button to click or selection to make. We got this!

Also: This article references steps and screenshots from a third-party platform. As with any integrated product, Zapier's interface and process may have changed since this article was written. If what you're seeing looks significantly different from what's shown here, please let us know so we can update the article to reflect the current experience.
Creating a Zapier Account & Linking ATS Anywhere
First, you'll need to create an account at Zapier.com
One once you have a Zapier account, you can add the ATS Anywhere Zapier integration.
Before you get started, you'll need to collect your ATS Anywhere API credentials in order to use the integration. To find your API credentials, log in to your ATS account, and go to Account Details. At the bottom of the page, you'll see an icon labeled API Access.

On this page, you'll find the options to create an API Key and API Password:

This is your Username and Password to use with Zapier. Please save these credentials in a safe place, as you may need to access them again in the future.
NOTE: This is the ONLY TIME you will be able to view this API Password. Remember to keep this information confidential.

Next, you'll need to add ATS Anywhere as an Integration:
- Add the ATS Anywhere Zapier integration to your account.
- You will be brought to this screen. Click on Accept Invite & Build a Zap

- Then you will be brought to your Zapier Dashboard which will look a little like the screenshot below.

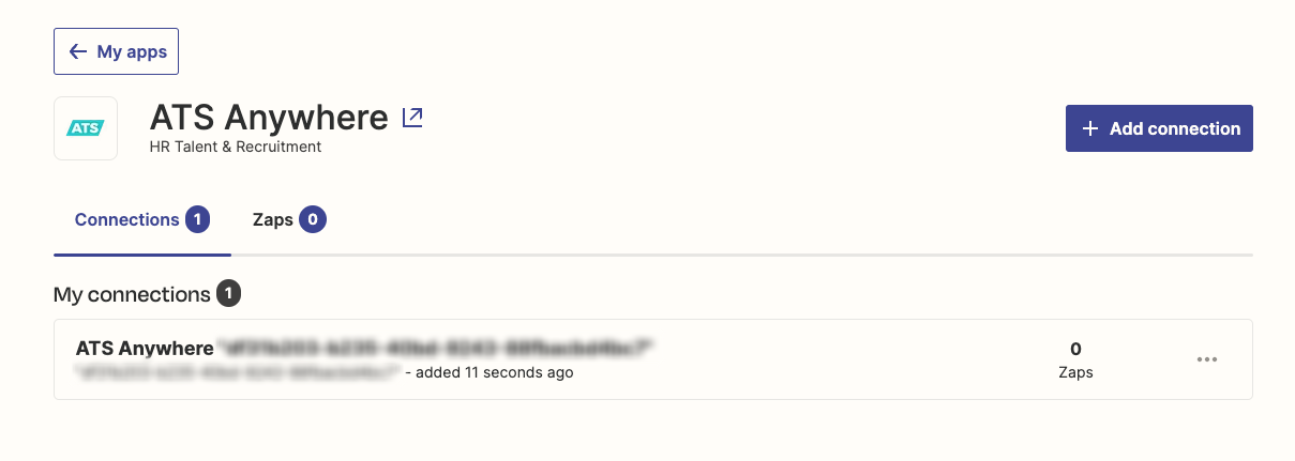
- Select My Apps from the sidebar
 4. Click the Add Connection button
- You will be brought to this screen. Click on Accept Invite & Build a Zap
- Type & Select ATS Anywhere when the option comes up.

- A new tab will open and the screen will prompt you to Allow Zapier access to your ATS Anywhere Account. Use the API Credentials you collected from your API Access page to sign in. Enter your API Key as your Username and your API Password as your Password.

- Once you click on the red "Yes, Continue to ATS Anywhere" button, you will be brought to your Zapier Dashboard. Click on the original tab and there you should now see your connection on the Zapier Apps page
1. Select Create Zap from your Dashboard in your Zapier account

2. Select ATS Anywhere from the Apps list.
3. To continue choose an event by clicking on the event drop-down bar and then clicking the blue Continue button.
There are two triggers currently available, Hired Applicant and New Applicant. With these events, you can trigger additional Zapier apps and actions whenever an applicant is hired or applies for a job in your system.


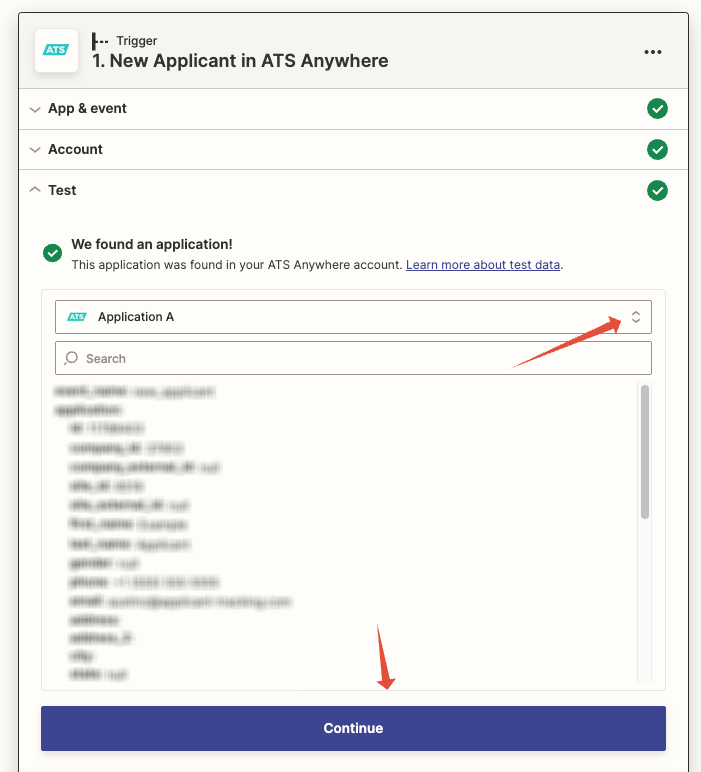
4. Zapier will then direct you through two extra steps; verifying your account is connected and testing the trigger to make sure it's connected properly and pulling information from your ATS account.
5. When testing the trigger, Zapier will pull an applicant from the ATS. Select Applicant A or have the system pull another applicant if you are not satisfied with the given selection.
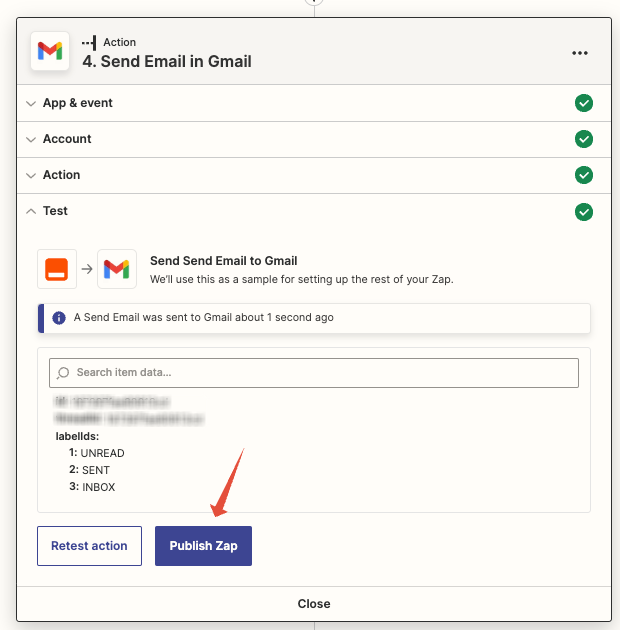
6. Select an action and event. In this example, we're going to ask the system to send us an email to a Gmail account


7. You will then fill out the appropriate information. Note: information provided below are specific to this example.


8. Hit Continue to test the action, checking your email to make sure it came through properly and includes all the information you asked it to share.

9. You can then Edit (if needed) or Publish Zap!
That's it, you have successfully set up your Zap!
Select the arrow at the top left corner of your screen to return to your main dashboard.

Zapier has a full User Guide on the right side of your screen that you can access at any step in the process if you run into trouble.
Happy Zapping!
We are constantly adding new options to our API. If you need a different type of API event or API control via Zapier, please email us at support@atsanywhere.io and we'll work with you to get your use case covered by the integration.